How to do Crossover Crunch Exercise?
- January 29, 2025
- 0
The crossover crunch is a powerful and effective exercise designed to target your abdominal muscles, particularly the obliques, which are the muscles on the sides of your torso.
The crossover crunch is a powerful and effective exercise designed to target your abdominal muscles, particularly the obliques, which are the muscles on the sides of your torso.

The crossover crunch is a powerful and effective exercise designed to target your abdominal muscles, particularly the obliques, which are the muscles on the sides of your torso. This exercise helps build core strength, enhance flexibility, and improve your posture. Whether you’re looking to trim your waistline or increase your overall fitness, the crossover crunch is a great addition to your workout routine.
In this guide, we’ll break down everything you need to know about the crossover crunch exercise, including proper form, benefits, variations, and tips for maximizing your results.
The crossover crunch is a variation of the traditional crunch that adds a rotational component to target the oblique muscles, the muscles on the sides of your abdomen. By incorporating rotation into the movement, the crossover crunch helps you engage these muscles more effectively than regular crunches.
Begin by lying flat on your back on an exercise mat. Place your hands behind your head with your elbows pointing outward. Your knees should be bent at a 90-degree angle with your feet flat on the floor.
Your core should be engaged, and your lower back should be pressed against the mat. This position helps prevent strain on your spine during the exercise.

The crossover crunch specifically focuses on the oblique muscles, helping you develop more defined sides. This can enhance your overall core strength and improve your ability to perform functional movements, such as bending and twisting.
By engaging both the upper and lower abdominal muscles, the crossover crunch is excellent for building overall core strength. A strong core is essential for maintaining proper posture, preventing injury, and improving performance in other exercises.
The rotational component of the crossover crunch helps to improve your stability and balance by activating deep stabilizing muscles in your core. A stable core is crucial for maintaining control during complex movements, both in and out of the gym.
Core exercises like the crossover crunch contribute to better posture and alignment. This can improve your ability to perform daily tasks and physical activities, such as lifting, bending, or playing sports.
While abdominal exercises alone cannot spot-reduce fat, incorporating them into a well-rounded fitness routine can help you reduce overall body fat when combined with a proper diet and regular cardiovascular exercise.
To keep your workouts fresh and challenging, try these crossover crunch variations:
Add an extra twist at the top of the movement by rotating your torso even further after you bring your elbow and knee together. This increases the intensity and helps target your obliques more effectively.
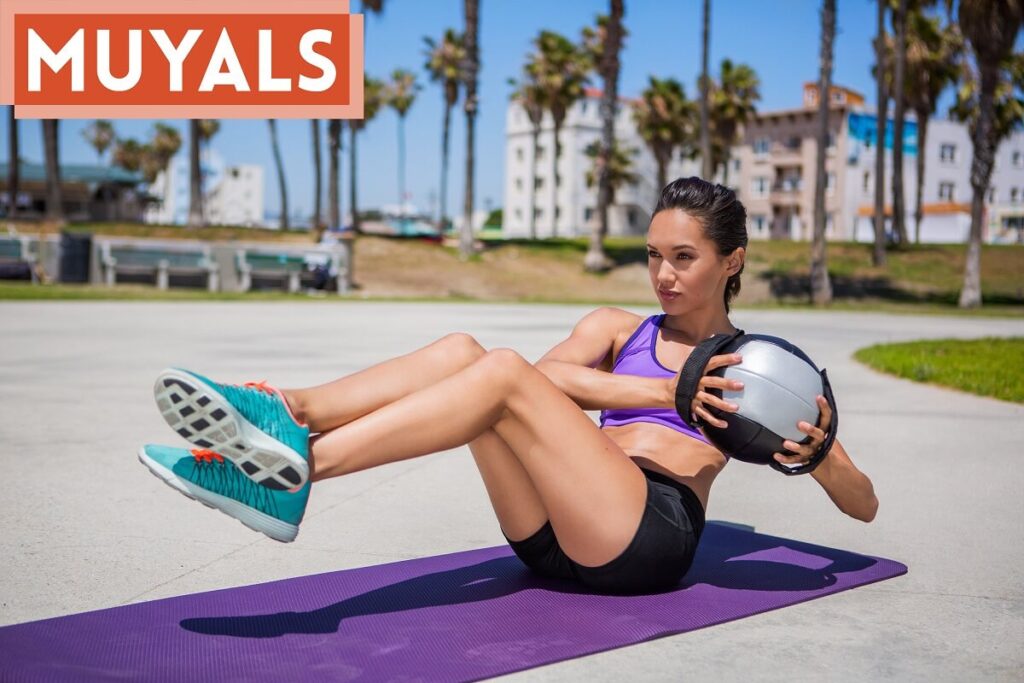
Hold a light dumbbell or medicine ball with both hands while performing the crossover crunch. The added resistance will help further challenge your abs and obliques.
This exercise is similar to the crossover crunch but involves a larger range of motion. As you twist your torso, bring one knee in towards your chest while extending the opposite leg straight. This variation also engages your hip flexors and lower abs more intensely.
Perform the crossover crunch while lying on a stability ball instead of the floor. This adds an element of instability, which requires your core muscles to work harder for balance.
To see optimal results from the crossover crunch, aim to perform the exercise 2 to 3 times a week as part of your regular core training routine. You can include it in a full-body workout, a core-focused routine, or even a high-intensity interval training (HIIT) session.
Perform 3 sets of 12 to 15 repetitions per side, gradually increasing the number of reps or adding weights as you get stronger.
The crossover crunch is an excellent exercise for strengthening your core, especially your obliques, and improving your overall abdominal definition. By following the steps outlined in this guide and avoiding common mistakes, you can perform the exercise effectively and avoid injury. Additionally, incorporating variations and adjusting the intensity will help you keep challenging your core for ongoing results.
Remember, no exercise will give you a flat stomach or six-pack abs on its own. A balanced diet, full-body workouts, and consistency are key components of achieving the best results. So, add the crossover crunch to your routine and start building a stronger, more defined core today!
Read our Blog: Real Estate License